Tuesday, July 3, 2012

Resurfacing

I have been very absent for quite a while, and have received many emails wondering where I've been. It's been a tumultuous eight months for me, containing many life changes. I want to start by thanking my absolutely amazing friends and family for being the best support a girl can ask for. Girlfriends are THE BEST, and I have the absolute creme de la creme of girlfriends.
I have spent the last few months in the throws of house searching. I looked at over 40 houses (thank you to the best realtor EVER, Anne) and finally found the one that had the most features and potential that I wanted for a decent price.
It was harrowing dealing with completely awful listing company, the bank and what not, but after 40+ houses, I knew this was the one for me. And being relatively stubborn, ahem, make that persistent, I kept my eye on the prize and reached waaayyy down to channel my inner patience and eventually persevered and the house was mine! It had exactly what I was looking for, wood floors, space for a double oven (I have decided that I can not live without double ovens ever again), and a sewing room on the first floor with windows.
This house has all that, and a killer hill in the front yard that took me 4 hours to mow the first time with my used 20 year old lawn mower!!! The next day all the neighbors stopped to tell me "Oh, we watched you mowing the lawn yesterday, that looked like really hard work!". I guess the bonus is that had I fallen down the hill with the lawn mower, everyone was watching so I'm sure someone would have called 911 for me! I have since invested in a self propelled lawn mower, it still takes me 2 hours, but I can get over the tree roots and rocks now. I'm calling it the buns of steel yard.

I have some before pics, but haven't stopped long enough to take decent afters yet, so here's a couple to show just a wee bit of what I've done. Keep in mind they are 'in process' pics, so the colors aren't great and the rooms are messy!
Fireplace room before
Fireplace room w/some new paint, but not finished


Kitchen window before

Kitchen window and cabinets before

Kitchen window after.
The curtains are just tacked up with pins right now,
 but I just couldn't wait to see the Rouenneries Bird Toile against my new walls!!!
Master bedroom hallway before
Master bedroom hallway after

And the most important room of all, the sewing room before.
The green room through the French Doors is my sewing room!!!
I've been busy sewing, so I haven't taken any 'after' pics yet. I'm going to try to take some good ones tomorrow and this weekend to share. I'm quite proud of how much I've accomplished with the help of family and friends in a couple of short months. 
And I have to totally do a special shout out of thanks Ashley, Pattie,Pat, Michelle, Lorrie, Paige, Kelly, Shelley, TJ, Amy and Emily for your patience and input with the crazy decorating decisions from the myriad of choices I've thrown at you all for the last several months!
It's so satisfying when everything turns out exactly as I envisioned it. I wanted serene and peaceful and by jove, I think I've got it!

I had to take a break on the crazy house stuff for a bit because I have deadlines on a couple of quilts. I just pinned this one last night:
I'm calling it Wild Kingdom. The zebra is two different kinds of minky.
The next quilt deadline involves these fabrics:

And since I don't want to move all of my fabric collection, there will be another QUILT FABRIC GARAGE SALE in Algonquin, the weekend of August 17-19. So mark your calendars and check back here for details!!!

Wednesday, January 25, 2012

It's all about flexibility

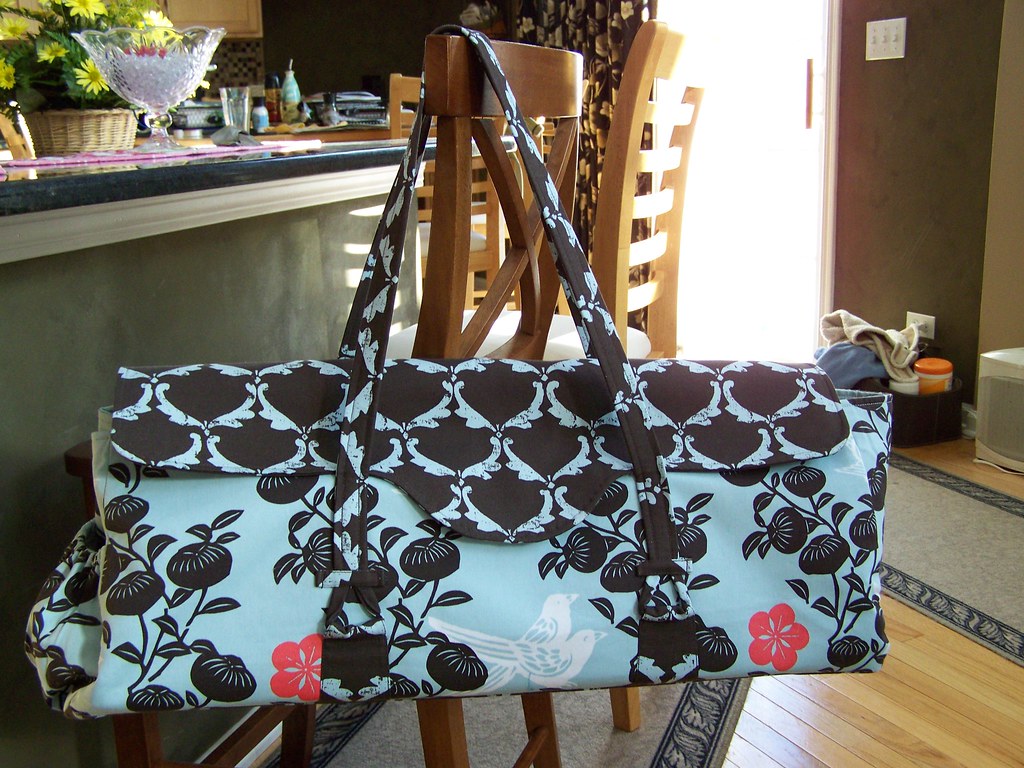
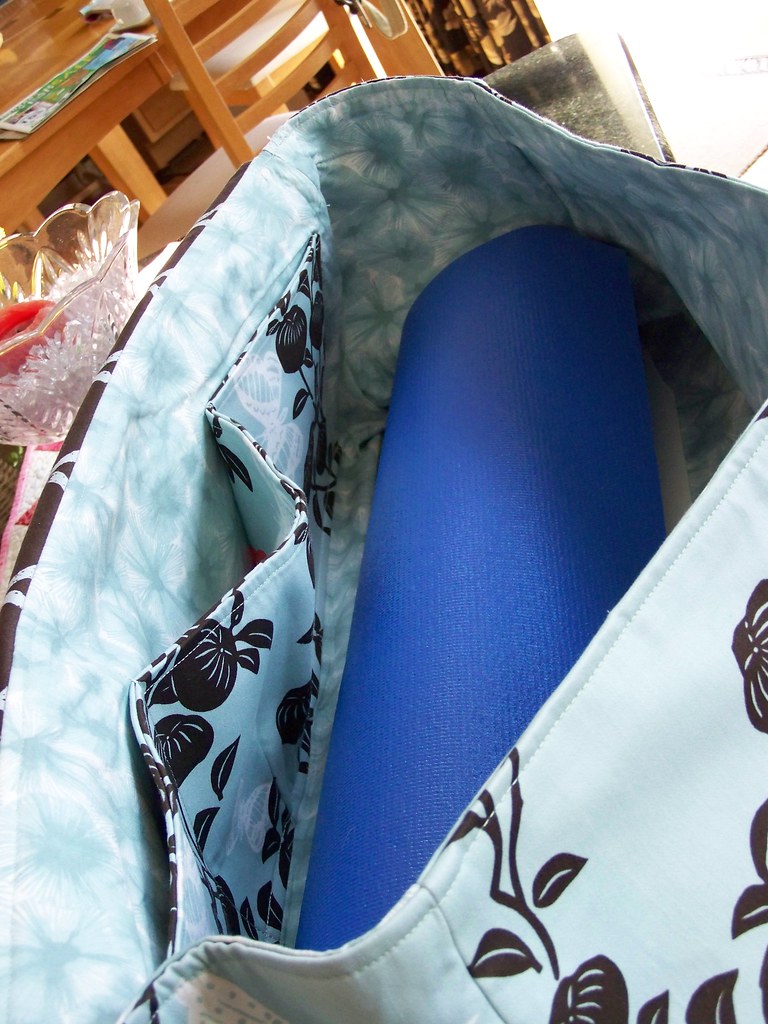
I was asked if I could make a yoga bag, and without thinking I said "sure!" Then I thought, hmmmm, can I make a yoga bag? Which was followed by research mode! I went online, thought about the hassles of toting around my yoga mat to and fro, and asked my friend Michelle, who teaches yoga classes, what is needed in a well thought out and useful yoga bag. Michelle talked to her yoga peeps and they all said that it needed to have pockets for a yoga brick.
I'm a firm believer in many pockets, so I was all for a yoga brick pocket!
I had been eyeing the Amy Butler Buttercup bag from her book Amy Butler's Style Stitches for quite some time. I love the flap shape and the handles, so I started with that and then changed everything.
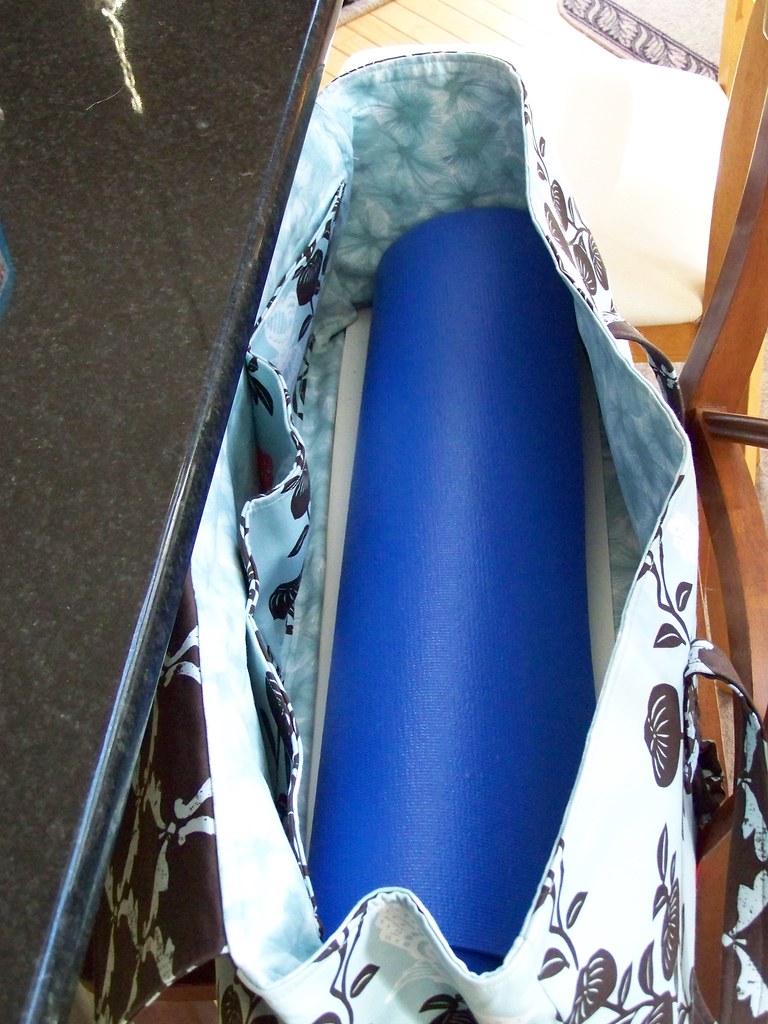
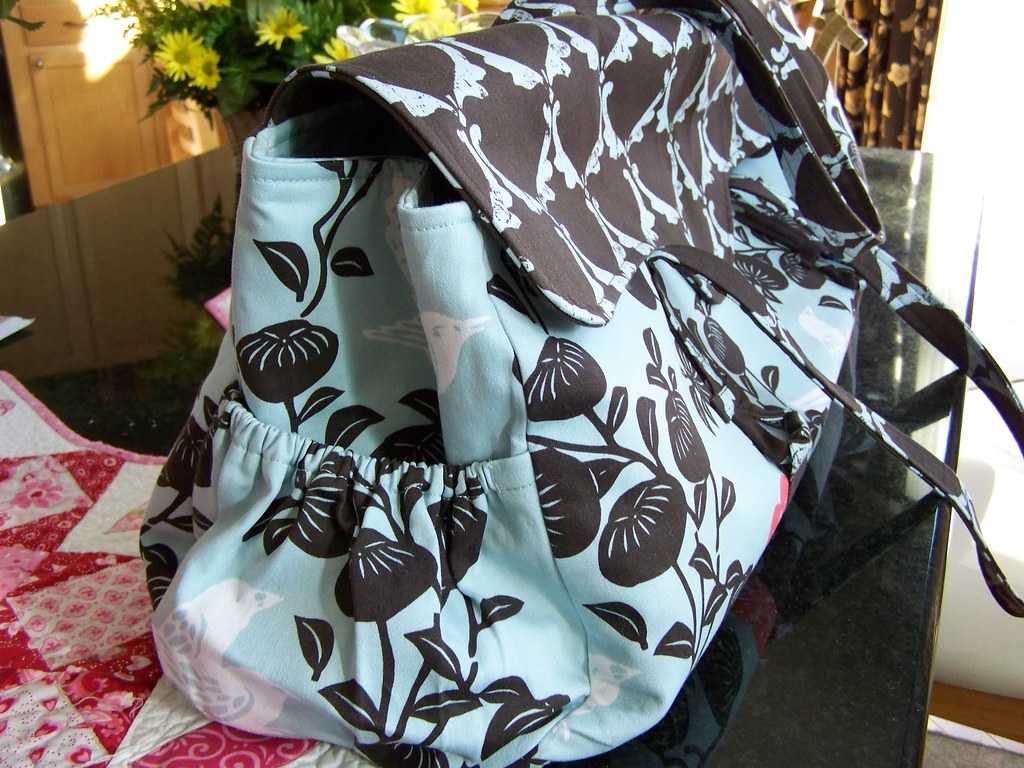
Obviously it had to be really, really long to accommodate the mat. I also wanted it to have room for clothing, in case the class is right after work. And I felt a water bottle pocket was an absolute necessity!
I fell in love with the Ty Pennington fabrics for Westminster Fibers and thought they would be great for the person wanting the bag.
I made a mock up first, in order to get the proportions and dimensions correct, so now I have a yoga bag too!
I'm having big issues w/blogger today, and it lost some of my pictures that I don't have backups of, so some of the final bag pics are missing. It also won't let me put text where I want it, so bare w/me on having it all up top here.
After the mock up I decided the flap needed to be smaller and the sides needed magnets so that they don't poof out like on the left side below. The water pocket seemed to keep it tucked in, so I guess I could have put a pocket on both sides, but I didn't and I don't recall why I decided against it.
I also put in a key holder tag on the inside and a tie for the yoga mat since I'm always struggling with my mat.
yoga bag front
Mock up bag front


yoga brick pocket
Yoga brick pocket
 
yoga bag inside
Inside bag

yoga bag back
Bag back
yoga bag water pocket
Water bottle pocket 
    
Final bag front

water bottle pocket

Mat tie since they are always unruly


Magnets to keep the sides tucked in under the flap

Tuesday, January 17, 2012

Ummm, Happy New Year!

I've been a little absent from the blog the last few months. I've had a ton going on personally, including some medical issues that I won't go into on the blogosphere, so while I'm recuperating, I am trying to catch up on the blog and some wool applique! The other reason I was absent  for so long was that I spent the last 3 months of the year sewing like a mad woman to make a double sided t-shirt quilt.

People underestimate the time it takes to make a t-shirt quilt. There's a lot of cutting, interfacing and squaring up to be done. Not to mention the color coordination issue that goes along with t-shirts. I had everything from neon orange, forest green, tie-dye and purple to contend with and make coordinate.

I was given a ton of shirts from her sorority, college and dance performances from her entire childhood. I was told the colors the young lady likes, her style, things she likes to do and was told that she had seen a friend's t-shirt quilt that had made from someone in the back of a magazine and she had wrinkled her nose and said "'it looked like something out of Real Simple." I therefore had to be more creative than a standard sew the t-shirts together and call it a quilt. I was also told that the commissioner had complete faith in my abilities, and she would leave it all up to me, so no pressure there!

I actually like that kind of challenge, it really gets the brain and creativity flowing. I decided that using a ton of different fabrics was the best way to make all the different shirts play nicely together. I also decided that outlining each shirt in grey would unify them nicely and make them coordinate w/the other fabrics more easily.
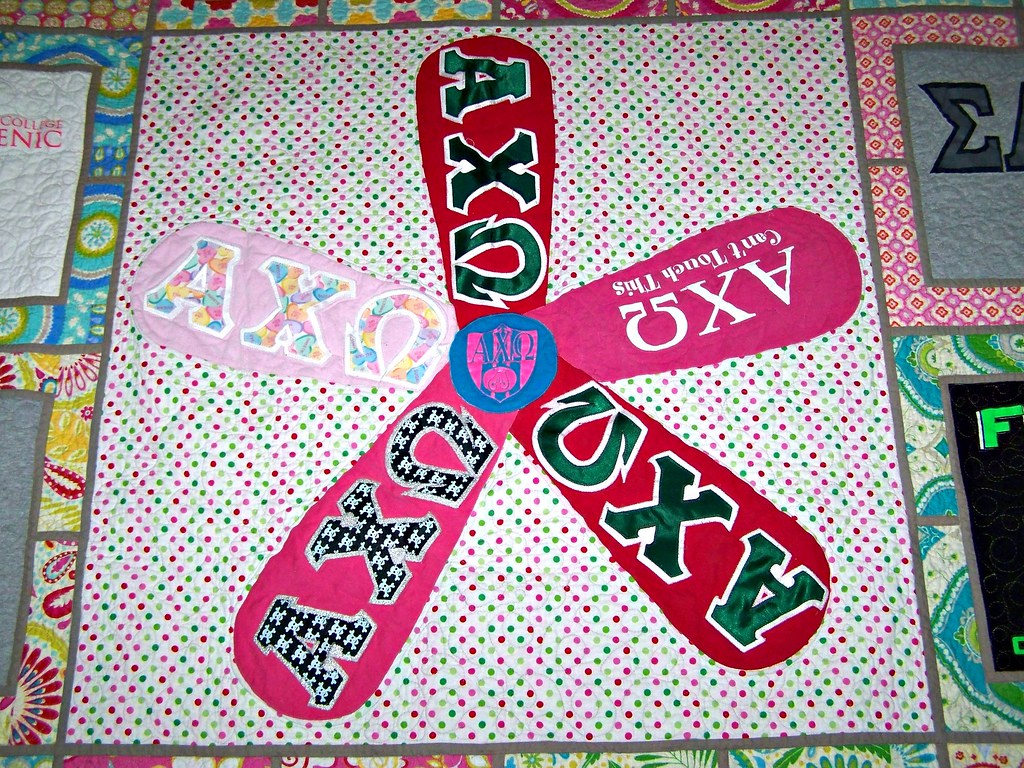
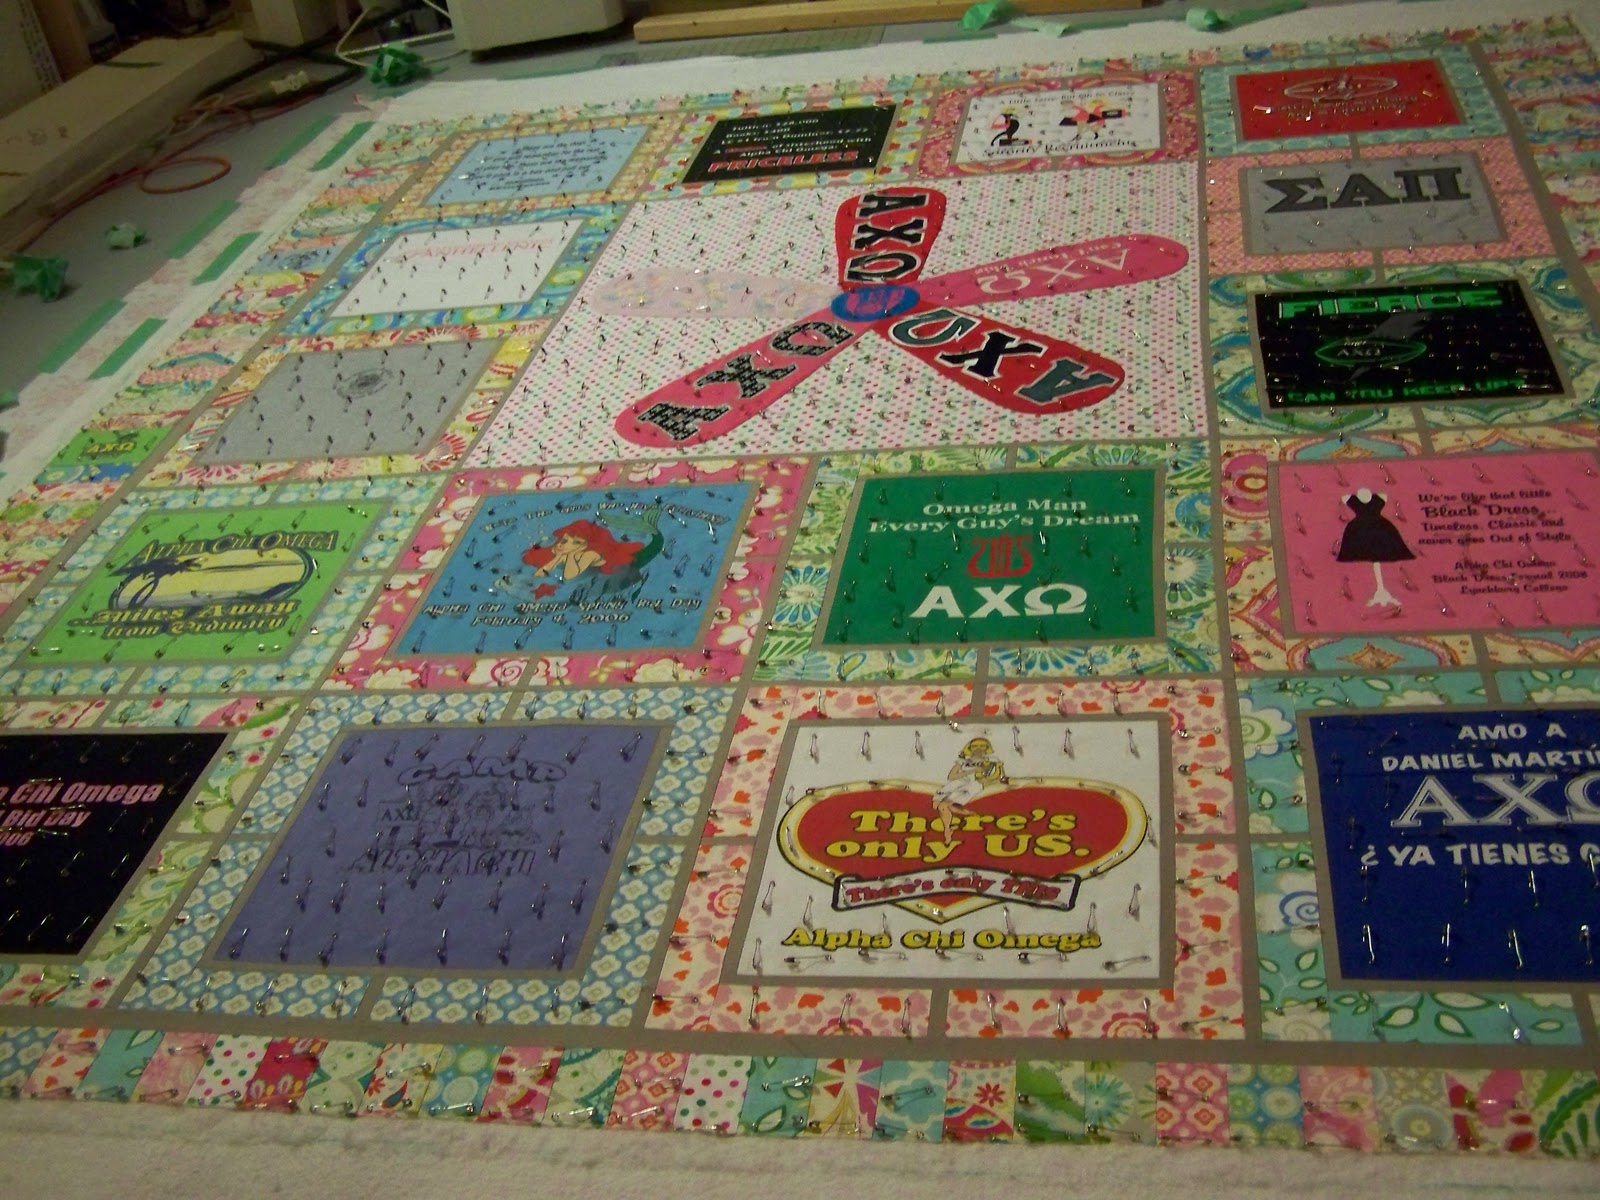
After sorting through the t-shirts and grouping them by college and precollege, I decided to go all crazy and make it two sided, the front college, the back precollege. I used two different lines of Dena Designs for the front and a combo of Sandi Henderson and my all time favorite, Heather Bailey for the back. I found there were several similar shirts that had those appliqued sorority letters on them. I had the idea to take the red and pink ones and make a giant flower in the center. The polka dot was a Riley Blake Christmas fabric! I used two different Moda Bella greys for the front and back.
T-shirt quilt center front Then Michelle and I traded emails about the other blocks and came up with the the design for the other front blocks, inspired by this quilt by Hyacinth Quilt Designs. I liked the way the grey kind of ties the blocks together and moves your eyes around the quilt. For the back, I decided to do a simple pieced sash of 2" finished squares between the shirts.
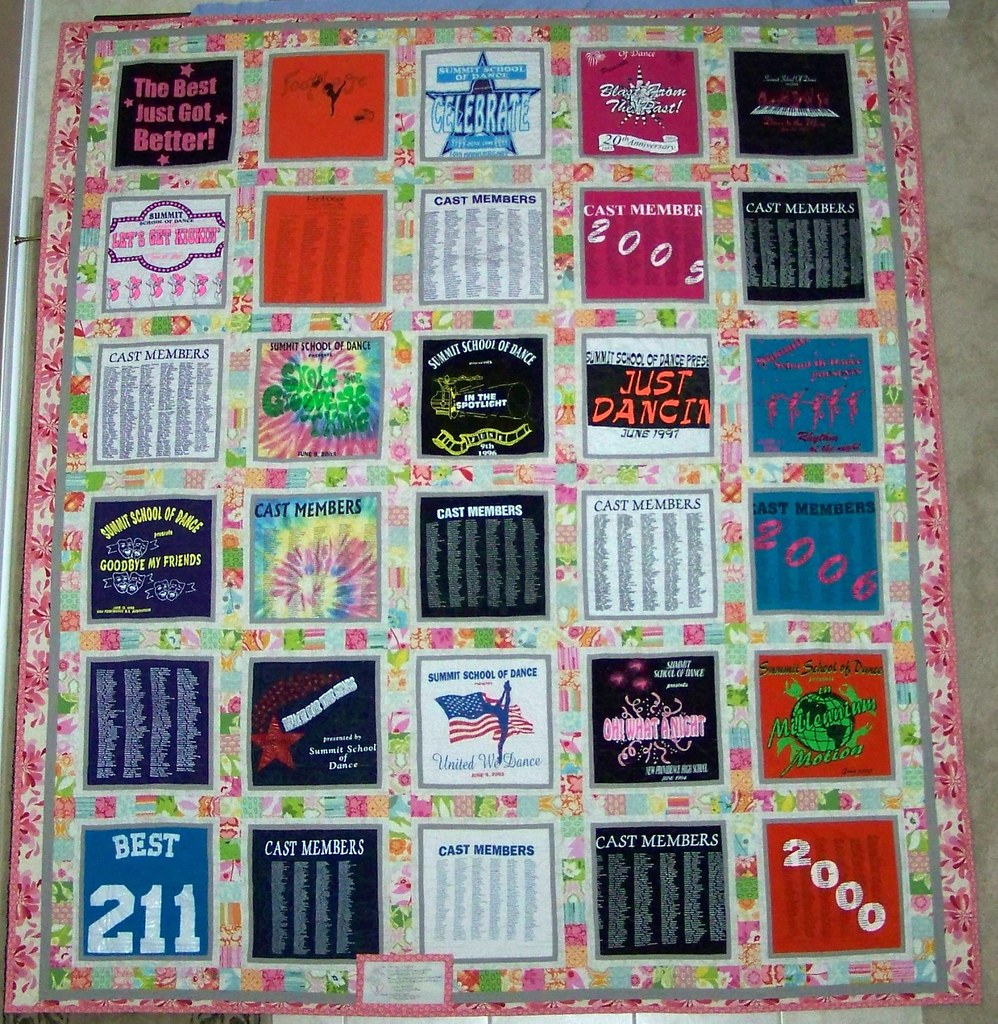
I was only going to use the front of the dance recital shirts, but DiscoJen pointed out that the names of the cast are on the back, and that's the most important part, remembering the people who were there with you. I ended up with 30 shirts on the back and 20 on the front. It was HUGE by the time is was done, I would say it's a large queen sized quilt.
The front:
T-Shirt quilt front
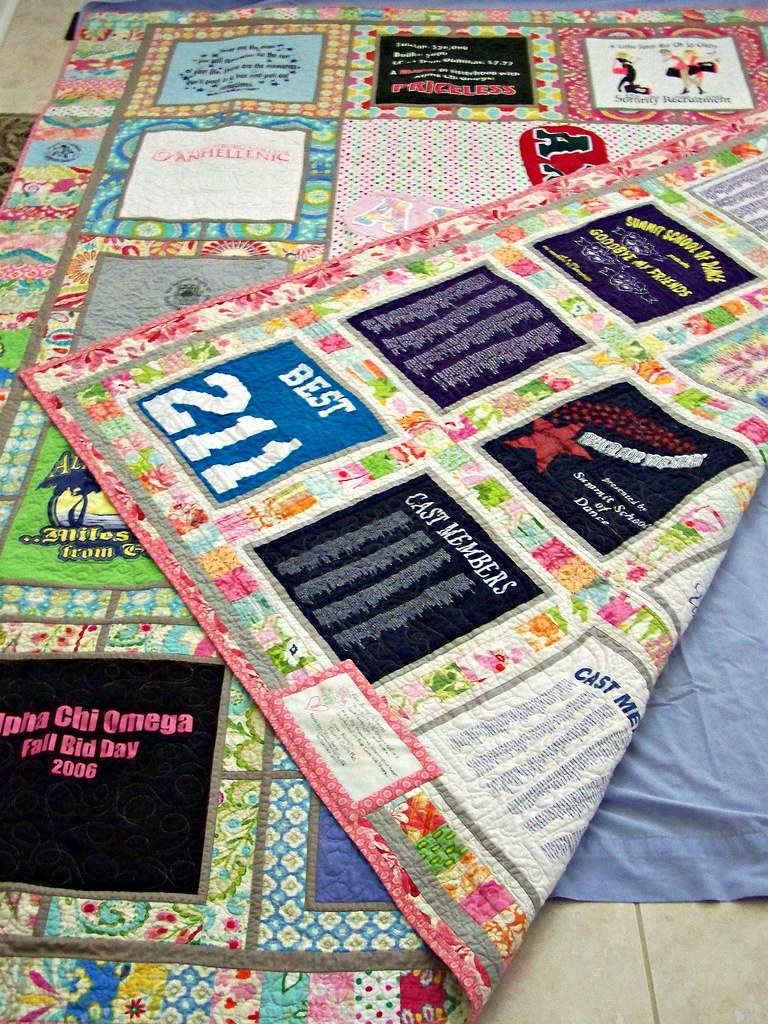
The front and back:
T-shirt quilt front and back
The back had an oh 'insert cursing here' moment, or if you prefer the glass half full 'there's no mistakes only design opportunities' moment. I had bordered all 30 blocks in the grey, and was all in a tizzy to attach the pieced sashing to see how it looked and it didn't fit!!!!
By a simple math error I had made the blocks 13" not the required 14"!!! ARRRGGHHHH!!! I then bordered them all in white too! I was really unmotivated by the time I was 1/4 of the way through the bordering a second time. I was taking no chances, I made them larger than necessary and then cut them all down to 14".
T-shirt quilt back
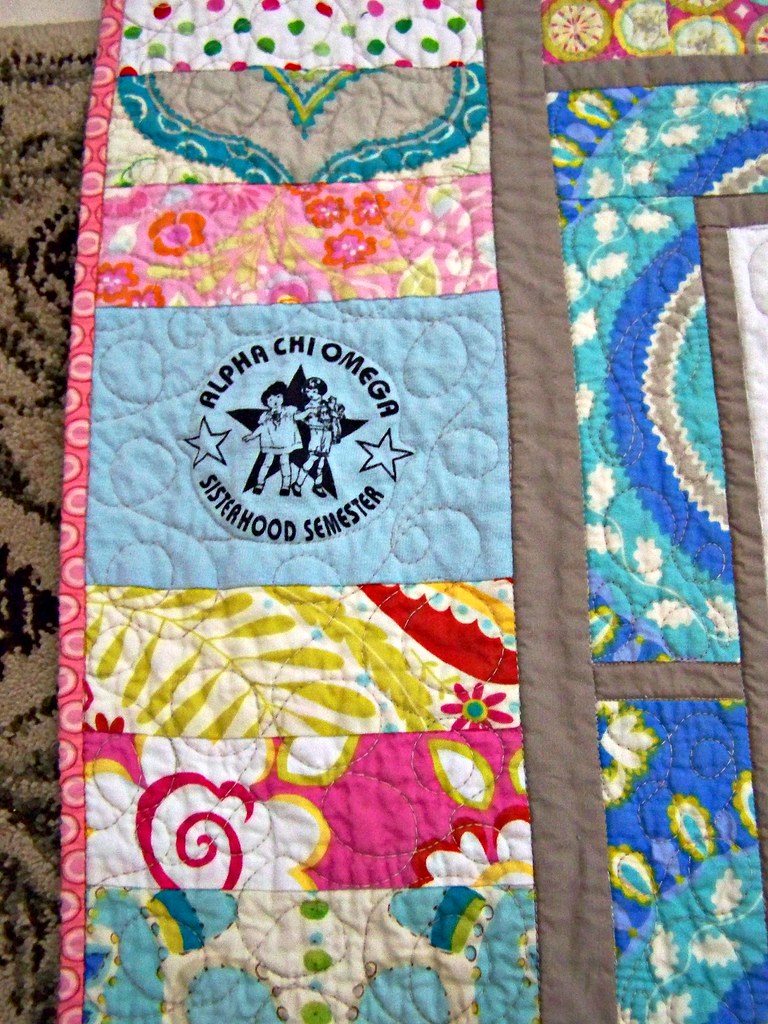
I worked some of the smaller t-shirt elements into the pieced borders:
T-shirt quilt front
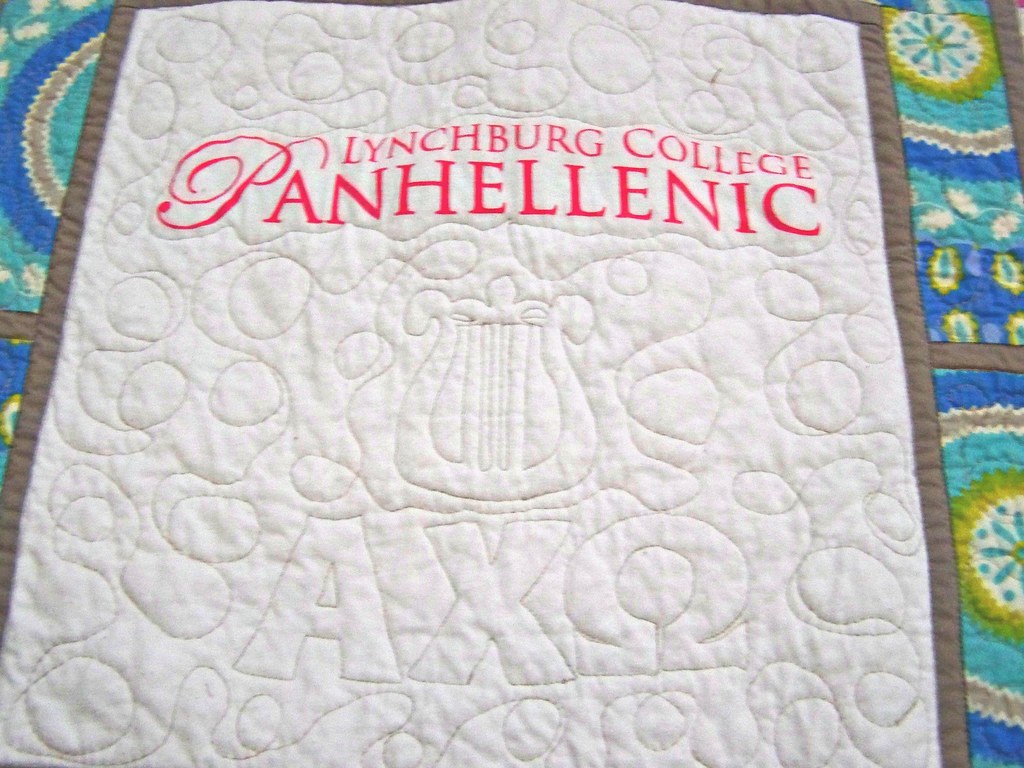
And added a  bit of fancier quilting to the blocks that had fewer motifs:
T-shirt quilt front
I have to say, pinning it was THE WORST!!! I literally used every single pin I had, and that's saying something. The quilt weighed a ton by the time it was finished being pinned. And yes, it had to be pinned, not long armed, because I had to perfectly line up the front and the back so the shirts would all be straight on both sides. Note to self, don't ever do a two sided tshirt quilt again!Lining up the front and back took quite some time and patience. Lots and lots of patience. The backing was 119"x99"!!

This is what makes all the effort and time worth it:
She loved her quilt, the design, the colors, the quilting, everything about it! And her brother was thrilled because he had helped out with one of her dance recitals and his name was on the back too. So DiscoJen was totally right! I feel I was given a very high compliment when one of her early 20-something brothers said 'she has mad skills'.