Showing posts with label amy butler. Show all posts

Monday, June 20, 2011

Two Bags and a Book

It was a productive week here at the Bugglet Quilts sewing cave. I managed to crank out 2 bags and a book for my sister to take with her on vacation to France. Remember this combo?
Soon to be Smarty girl
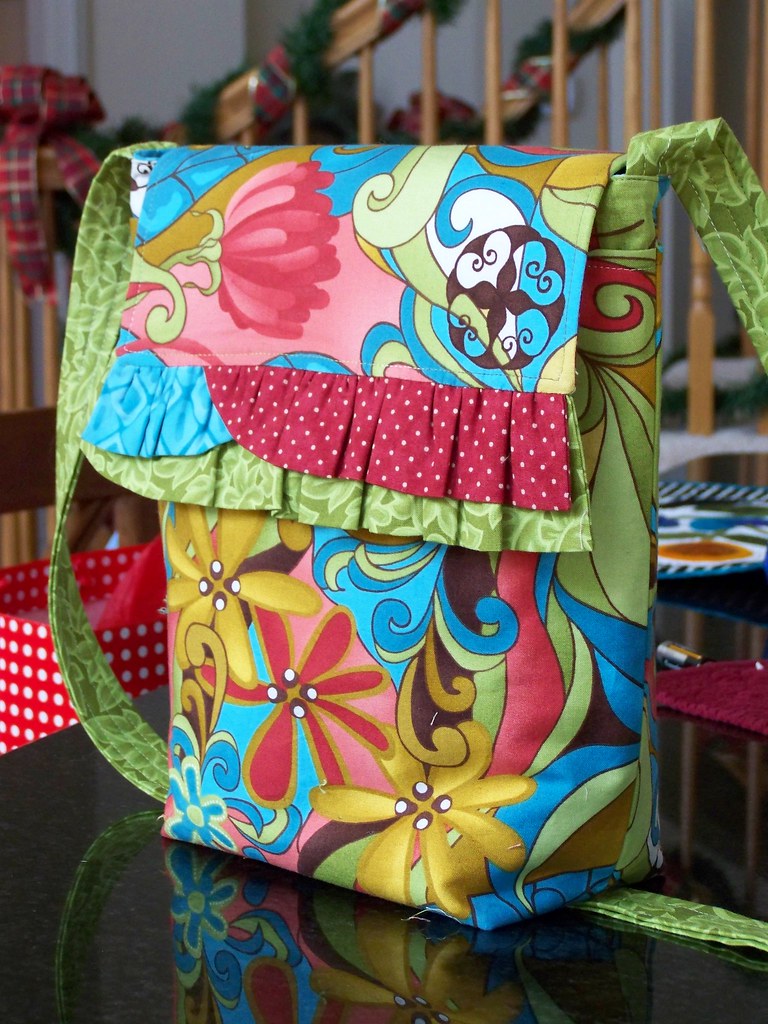
I made it into a modified Smarty Girl bag by Heather Bailey for my sister. I made it the same way I made DiscoJen's bag since she loves it so much and said it was fantastic for her worldly travels as well as every day use.
I made a flange instead of the 3 ruffles because I didn't think the material lent itself to ruffles and because my sister isn't a ruffley kind of girl. I made the handle long enough to wear it across you, which is better for safety and keeps your hands free to attempt to keep your two year old child under control.
There are pockets on the front and back for tickets, passports and other items that need to be kept safe, yet readily accessible. Too bad I didn't watch the pattern better when I cut the pocket out, I should have lined it up. It looks like you are seeing double on the back now!
I also installed a magnetic snap closure on this bag, just as a precaution.
This is hard to photograph, and my editing software seems to have disappeared during my last 'upgrade', but this is the quilted divider that I made inside so she can put her e-reader in there and have it protected from harm.
The other side of the divider is lined with pockets and features a key clip. I figured it would be good for hotel and rental apt keys while traveling. Or for your own keys so that you don't lose them in the bowels of the purse, the way we all do. I wasn't sure about the way the divider snaps itself against the back wall of the purse, but DiscoJen assures me that it's better that way because when she's not carrying her e-reader, it's out of the way and she can use the whole inside as her purse.
I also interfaced this one more than DiscoJen's, so it's less slouchy. I may have used different interfacing in DiscoJen's too. I'll have to check out her bag again and see if I can tell what I did differently. I should have taken better notes if I was going to alter a pattern so much. Ah well, lesson learned.
The book I made is from the Alfabeto Italiano Collezione by Micheal Miller Fabrics.  My sister is fluent in Italian, so I thought I should make it for her little guy so she can teach him Italian. I thought it would be good to travel with as well since it's soft and can be squished into a small bag. He's almost two years old now and we spent some time during our Father's Day dinner trying to get him to say 'Bonjour!' He just laughed at us.
 I put some batting in between, and sewed around the outside colored border and a quarter inch in from that to help hold the batting in place. Then I used a star/circley stitch on my sewing machine for the hole to put the ring through.
I only screwed up one, which was the very last one of course! I put the hole on the upper right side instead of the upper left, so now there's a superfluous hole in the 'Z'.
I made yet another 'Sweet Simple' bag by Late Bloomer. I really love this pattern. I can get them done quickly and it really showcases the fabric. This one is a chocolate bag for my sister's French friend, Natalie. She loves chocolate, and is really neutral in her clothing taste, so I was thrilled to find this 'Confections' chocolates fabric by Robert Kaufman.
I like the Moda dots for the gathered part, I think it looks like cream filling with chocolate on top!
Of course I lined it with pockets too. You can't have too many pockets. Ever.
That's all the projects from last week!
Happy Quilting,
Vicki

Wednesday, May 18, 2011

How to know you are a quilter

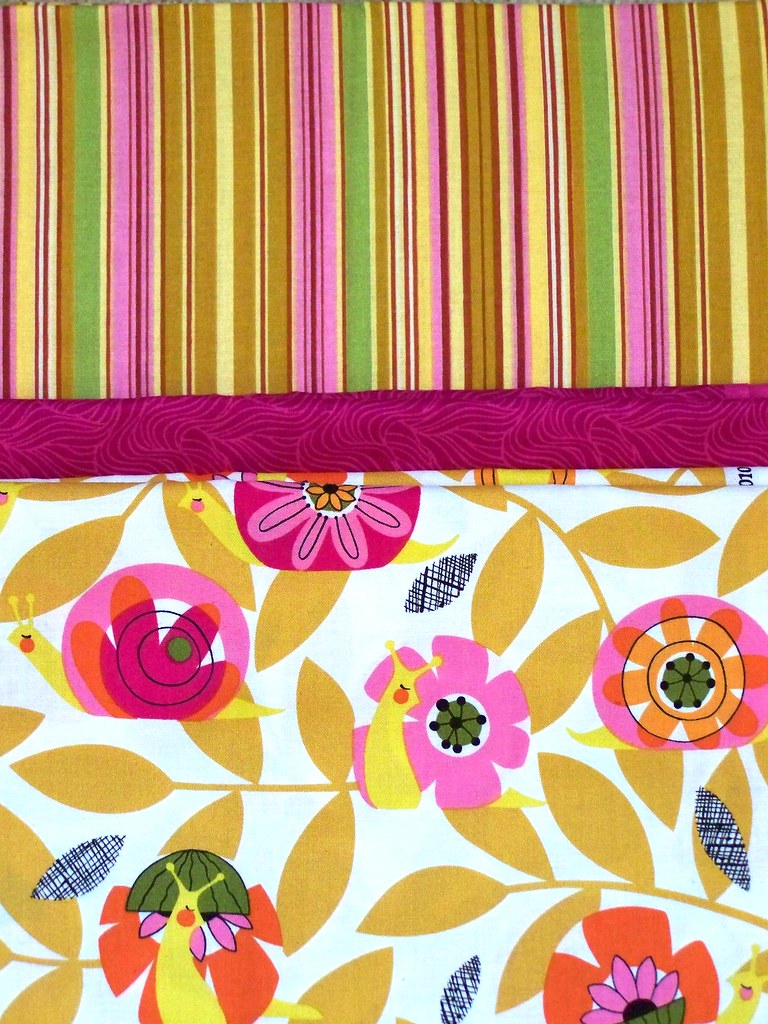
My cousin Ashley is a quilter but just doesn't know how to quilt yet. How can I tell? She's started collecting fabric and brings it out just to gaze upon it's wonderment. I've found that the true quilter is the person who is planning their 2nd and 3rd quilts while they are still cutting out their first ever quilt. Ashley has a very good eye for fabric, and we make a great fabric coordination team. We were at Material Girl in downtown Crystal Lake last Saturday night for a little get together and she found this wonderful Alexander Henry print hiding on a bottom shelf:
I found a great Essentials magenta by P&B to go with it:
Then I was looking at it that evening at home and decided it needed another coordinate, and I found an Amy Butler stripe from the Belle line. I could not believe how perfect it was!
This is also a really good lesson about thinking outside the line. The fabric line that is. I love the coordinated fabric lines put out by the designers and manufactureres as much as the next quilter, but looking elsewhere for coordinates can bring really your fabric combo to a whole new level and make your combo pop.
What will this become? I'm so glad you asked! It will become a Heather Bailey Smarty Girl bag, sans the ruffle, but with all the extras, like I made for DiscoJen for her birthday this year!
smarty girl bag
This will also be a birthday present, but I'm not saying for who, in case said person is reading this.


Friday, March 25, 2011

Amy Butler Gumdrop Pillow Pattern Review

Last week I made 2 Gumdrop Pillows from Amy Butler's pattern and had a sew in with my Sew Mod group to teach them how to make the pillows as well. I guess I really made 4 Gumdrops since I made 2 inner pillows and 2 covers.
I have to say, they were totally easy and the directions were great. I like the fact that she has really well drawn diagrams as I'm a picture directions person rather than a word person.That being said, you should always read directions too! If you follow the directions and make them as is, you can easily get it done in an evening. I think stuffing the mass amounts of fiberfill into the shell took me the longest amount of time.
This would be a great pattern to make with a younger sewer for her room. It's almost instant gratification sewing/decorating.
I don't like cutting apart my patterns since I tend to lose the pieces, so I trace mine onto freezer paper and cut it out from there. I also cut my freezer paper templates to full size, so where it says to place the edge on the fold of the fabric, I fold my freezer paper and line the fold up on the pattern and cut it out.
One good reason to do it this way is that you can iron your template to the fabric so that there is no shifting, you can line your ruler on the edges easily and rotary cut out multiple layers at one time, so there is much less time spent cutting. It also makes it easier to fussy cut elements out, as I did on my Cosmo Cricket Snorkel Gumdrop (which the hubby called a beach ball).
I, of course, can't just let things be, and decided that I would make an inner Gumdrop and a washable outer cover as I was intending my trial run pillow for my 19 mo old nephew. I had seen this idea on a blog somewhere, but have no clue where at this point. Having never installed a zipper before, I did some research and found this fabulous tutorial by Kay Whitt of Sew Serendipity. It worked pretty spectacularly, except I installed it w/the zipper pull at the top of the pillow instead of the bottom. That being said, the pillow is sooo large, and the zipper opening soooo small, that it was a you-know-what to get that pillow in the cover! I ripped a couple of holes in the seams that I had to stitch back up.

Enter *brilliant* idea number two! Install 2 invisible zippers to make the cover open up in half. I totally screwed this up. First, I installed one of them w/the panels on the wrong side, so the pattern was all screwed up and I had to rip it out. I ripped the fabric while doing this and had to recut a panel. Then I sewed the seams together at the top and bottom, which means that it wouldn't open all the way up!!
At this point I gave up, had a glass of wine and watched Rick Steve's Europe Through the Back Door on PBS. The next night, everything went much smoother and it worked!!! It's not as pretty as I would have liked, but it's not bad. The seams where the zippers are are a little puckery, but they iron down fairly well. And it's significantly easier to remove the cover and put it back on than with the one zipper.
Lorrie found a make your own invisible zipper where you can make it as long as you like instead of being restricted to 20-22" invisible zippers that you can only get at JoAnne's. If I make a third pillow, I'm going to try that option and start it at the upper middle part and continue it to the opposite side upper middle part.
I think I may be a glutten for punishment.
Here are my final projects. I fussy cut out the largest blossom from the Optical Blossom Midwest Modern fabric for the top of my grey and citron Gumdrop.
The muslin covered inner pillows:
Pillow cover action shots:
Why is Kelly all smiles with her Gumdrop? Because she followed the directions as they are written and had hers done in an afternoon! I just notice how well Kelly and her pillow match my kitchen. Sweet.
The left Gumdrop is Lorrie's Kate Spain Central Park and the right is Paige's Amy Butler Midwest Modern 2 and Daisy Chain pillow.
A Gumdrop on a Tuffet!

Overall, I say this pattern is an A+ if you actually follow it as written.
I tried to link to Lorrie and Paige's Sew Mod blog for more photos and whatnot, but Blogger is being testy and refuses to let me link, so if you would like to see more photos from our Gumdrop Party, please click on the Sew Mod link located in the 'Fun Places' section in the right margin.
Happy Sewing!
Vicki
Monday, February 21, 2011

Eating my curds and whey...

Lorrie, from my SewMod group, came up w/the idea of making a tuffet at one of our sew-ins. Her neighbor was kind enough to cut the base and sink the grommets for the feet for us. Lorrie acquired and cut the foam and the ginormous buttons, so all we had to do was pick out feet, fabric and sew our little hearts out!
My cousin Ashley and I spent the evening 2 Fridays ago rummaging through my stash and were able to come up with these:
They are mostly Amy Butler, but there's a couple of Denyse Schmidt and Robert Kaufman thrown in. I love these so much, and have a ton of strips left over, that I'm going to have to make a quilt out of them as well.
There was a lot of prep involved to make the tuffets. I spent all day Saturday foundation piecing my strips into 8 sections. I tend work slower when I do scrappy projects, agonizing over each fabric placement. I think it's harder than a planned out quilt. I would not have known how to make the foundation peiced sections w/o having previous paper piecing experience either. The directions were not very clear on that part. I eventually got a system in place, and that helped speed things up.
Shelley made her entire tuffet at the sew-in. I was very much impressed. And for some strange reason, everyone of us felt the urge to wear our tuffets on our heads. We were all reminded of that cartoon character on Fat Albert.
Some action shots:
Lorrie, Shelley and Andrea arranging the tuffet cover.
You have to get it on just so, or it will be off center.
Andrea and Lorrie  Pattie putting the feet on. (sorry Pattie!)
Yeah! Andrea clapping at our success.
There are no photos of us putting the buttons on, since it took all 4 of us to push the button in, brace the back of the tuffet against the pushing, tie the button and staple the beejeezes out of the thread to the back to keep the button in place. I pulled a muscle in my buttocks doing it. The lengths we go through for a good project! Pattie had left after we made her help w/the first one, smart woman!
I had to strip piece the fabric for my giant button, because I didn't bring any yardage with me to the sew-in.
Mine is about 17" in diameter and 9" tall. You can alter the height w/different feet. (I added this because I've had a couple of people think they might be pincusions).
I L.O.V.E. it! It's true, I do love it. And yes, Sue, I would marry it! Wouldn't you?
The tower of tuffets:
Top - Andrea used Kate Spain Fandango
Middle- my Amy Butler and friends
Bottom - Lorrie used Amy Butler Soul Blossoms
And all finished (except for Pattie's, because she had to leave early, but which I'm dying to see because she is using Sanae's Arcadia, which is totally gorgeous.)
Shelley's is on the top, she used a wide selection of Kaffe Fasset, of course. (Shelley's a Kaffe-o-phile).
I'm already thinking up what I should make my next one out of! They were all totally fabulous.
But I can't start another one yet, because I have a waste bin liner to work on tonight. That's a different post all together.
Our next group project to tackle will be the Amy Butler Gumdrop Pillow poof. Now I just need to find where I put that pattern!
Lorrie has more in process photos over at the SewMod blog and the SewMod Flickr site.

Saturday, January 29, 2011

Sew Mod row quilt challenge

I have a wonderful small group that I belong to called SewMod. There's 7 of us, and we have a great time together. We are all inspired by, learn from, and share ideas with one another. We meet once a month and have sew-ins when we can all get together.
Paige had a great idea to do a group challenge sometime early last year. I think it was summer or maybe spring, and we had a deadline of February 3rd. Plenty of time, right? I'm a procrastinater, but I'm also generally swamped, so I put it off and didn't start until the beginning of this month. I have them all done though!
The challenge is to make a row, using an assigned block (different block for each person) and the fat quarter that the person you are doing the row for provided. By using the fabric that the person provided, there's a better chance that the rows will coordinate better. So I had 7 rows to do for others, plus one for me. I'm waiting to do my row until I get the others, so I can use my row to fill whatever design need I may have.

I had the week off of work last week, of which I thought I would spend 2 days on the rows, and the rest cleaning out my basement and sewing room. No such luck! I literally spent the whole weekend and week on my rows. I made all of them really scrappy, so just picking out the fabrics for each row took forever. This excercise solidifies my resolve to redo my stash and organize it by color.
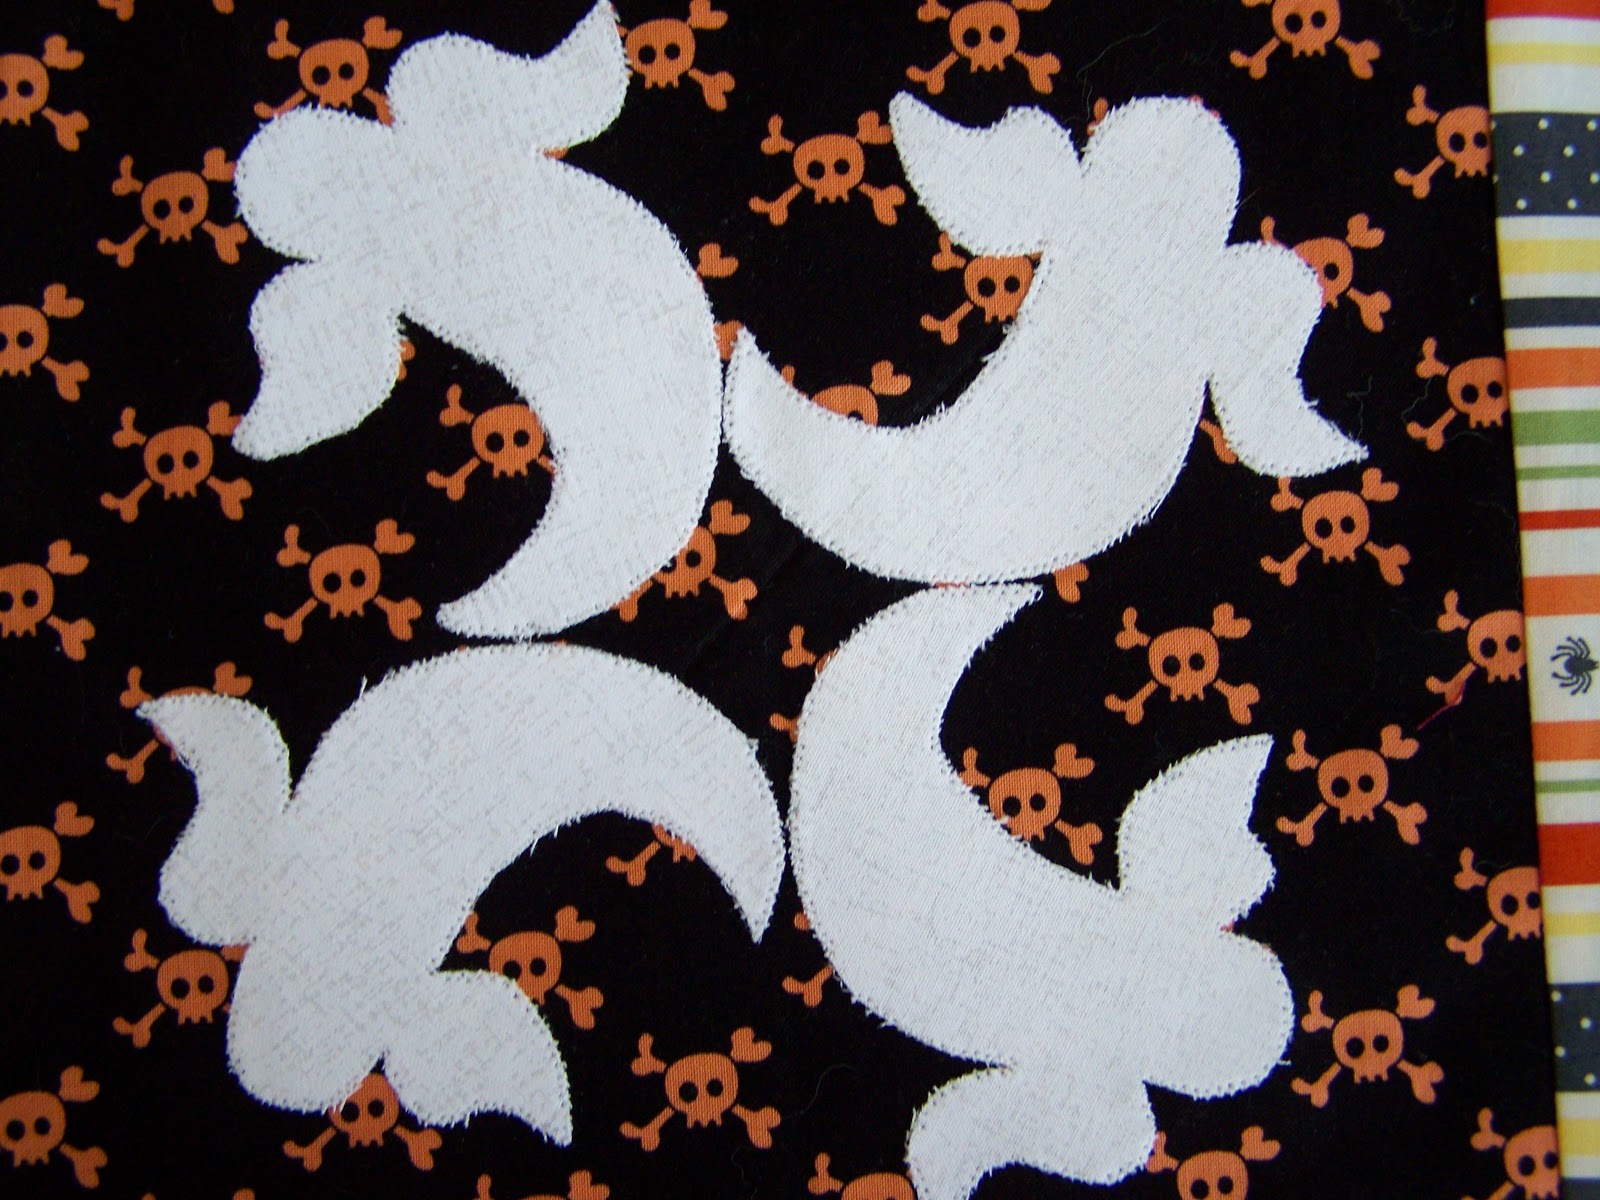
I did Lorrie's row first, since I knew what I wanted to do. She gave us each a different Halloween fat quarter. I got the bats! I was so excited, since I love bats. The block I was to use for Lorrie was a pinwheel. I got out my Baltimore Halloween patterns and selected items that I thought would make pinwheel shapes well.


Shelley gave us all The Kaffe Fasset fabric on the outer border. (It's no secret that Shelley is a Kaffe fanatic). I had to make a row using flowers, so I chose the 'My Whimsical Garden' patterns by Piece O'Cake. I know that she likes their work as well. It's hard to see, but there's also a bitty little flange as an inner border, becuase you know, I love a flange!
 I had to make flying geese for Paige, so I found a paper piece pattern online and used the freezer paper technique to make them. I'm really thrilled with this pattern, and see more of these in my future. Even though it looks complicated, it went really quickly and easily.
Paige gave us each a different fabric, I got that red w/white dot in the bottome of the goose circle. And look, could it be? Yes, it's another flange! I like how the black sets the row off.
Jennie was part of our group, but moved away before doing the challenge, so we all decided to make the rows as planned, then we will put it together as a group and raffle it off in the late summer / early fall and give the money from it to charity. So stay tuned for the details on how to win it later this year!
 The fabric in the center of the blocks was the one provided and I had log cabins assigned for this row.
Kelly's was the biggest challenge for me since I had never made Dresden Plate's before. Lorrie loaned me her Dresden template, which made it amazingly easy! I have to say, I've always loved Dresdens, so I see more of these in my future as well.

Kelly gave us all the black and white swirl on the left and rightmost blocks shown here. I'm not sure I'm totally thrilled with the satin stitching on the inner curves, but I didn't know how else to finish them off.
I had the wild card block for Andrea, and since she didn't have the log cabin assigned to her, I decided to go with that. I tried to do a 'wonky' log cabin, but kept straightening them up unintentionally!
Andrea provided the fabrin in the middle.
Pattie provided the two Amy Butler fabrics in the middle of these stars. Can I tell you how much I love this row?
When the hubby saw it, he told me that I should make a different row for Pattie, and keep this one to make a table runner for us. Since I have a deadline on the row, I decided against that plan. However, I will be making myself a table runner for myself. I like the way the Kate Spain Fandango coordinates with the Amy Butler fabrics. And the grey just sets them off. Love it! I actually had to do a tester block for the star though, it was a pretty complicated set up.
To see the rows that everyone else in the group made, as well as the ones for me made from the Riley Blake fabric I chose for my quilt, check out the Sew Mod Flicker group.