I've been a little absent from the blog the last few months. I've had a ton going on personally, including some medical issues that I won't go into on the blogosphere, so while I'm recuperating, I am trying to catch up on the blog and some wool applique! The other reason I was absent for so long was that I spent the last 3 months of the year sewing like a mad woman to make a double sided t-shirt quilt.
People underestimate the time it takes to make a t-shirt quilt. There's a lot of cutting, interfacing and squaring up to be done. Not to mention the color coordination issue that goes along with t-shirts. I had everything from neon orange, forest green, tie-dye and purple to contend with and make coordinate.
I was given a ton of shirts from her sorority, college and dance performances from her entire childhood. I was told the colors the young lady likes, her style, things she likes to do and was told that she had seen a friend's t-shirt quilt that had made from someone in the back of a magazine and she had wrinkled her nose and said "'it looked like something out of Real Simple." I therefore had to be more creative than a standard sew the t-shirts together and call it a quilt. I was also told that the commissioner had complete faith in my abilities, and she would leave it all up to me, so no pressure there!
I actually like that kind of challenge, it really gets the brain and creativity flowing. I decided that using a ton of different fabrics was the best way to make all the different shirts play nicely together. I also decided that outlining each shirt in grey would unify them nicely and make them coordinate w/the other fabrics more easily.
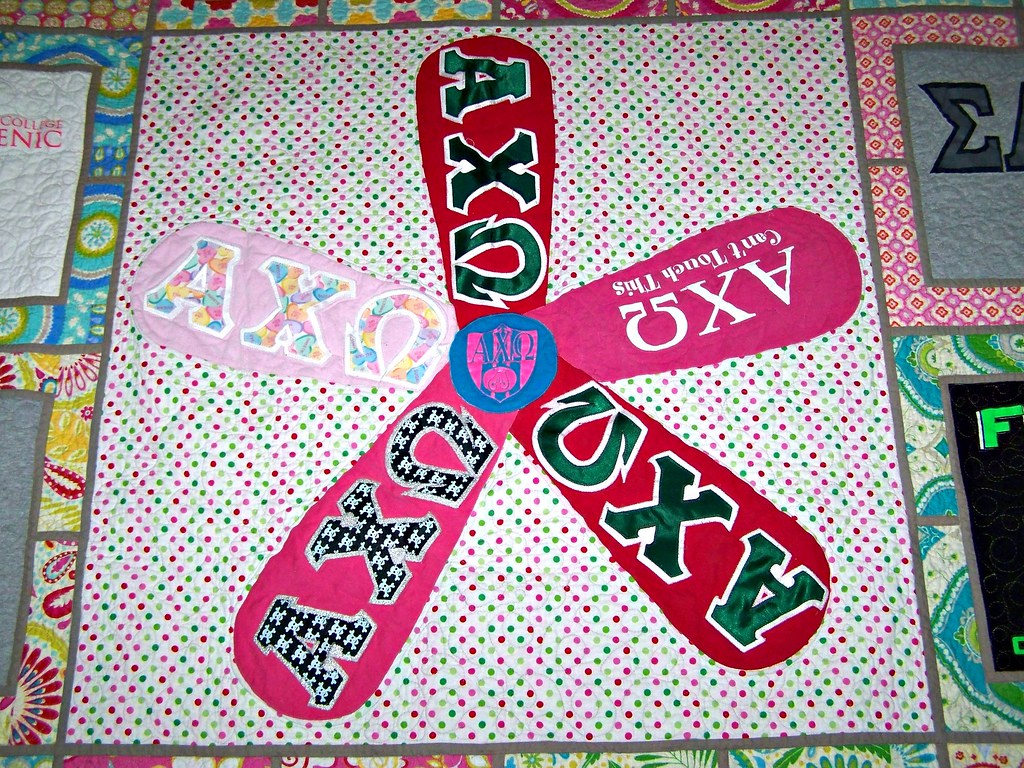
After sorting through the t-shirts and grouping them by college and precollege, I decided to go all crazy and make it two sided, the front college, the back precollege. I used two different lines of Dena Designs for the front and a combo of Sandi Henderson and my all time favorite, Heather Bailey for the back. I found there were several similar shirts that had those appliqued sorority letters on them. I had the idea to take the red and pink ones and make a giant flower in the center. The polka dot was a Riley Blake Christmas fabric! I used two different Moda Bella greys for the front and back.
Then Michelle and I traded emails about the other blocks and came up with the the design for the other front blocks, inspired by
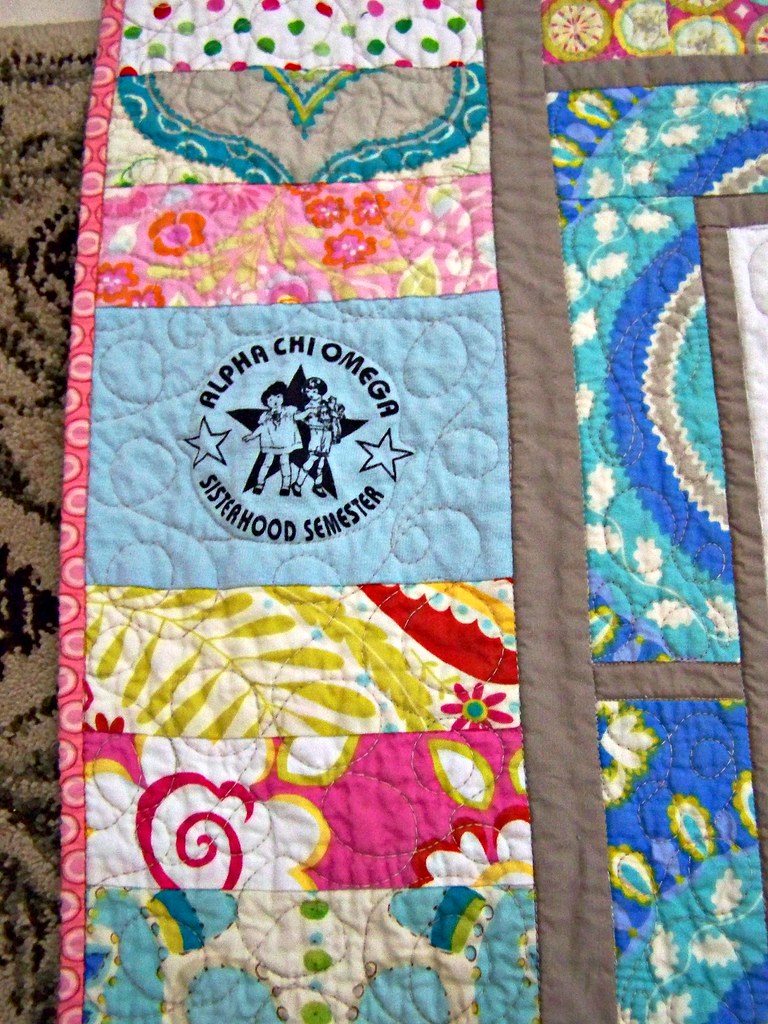
this quilt by Hyacinth Quilt Designs. I liked the way the grey kind of ties the blocks together and moves your eyes around the quilt. For the back, I decided to do a simple pieced sash of 2" finished squares between the shirts.
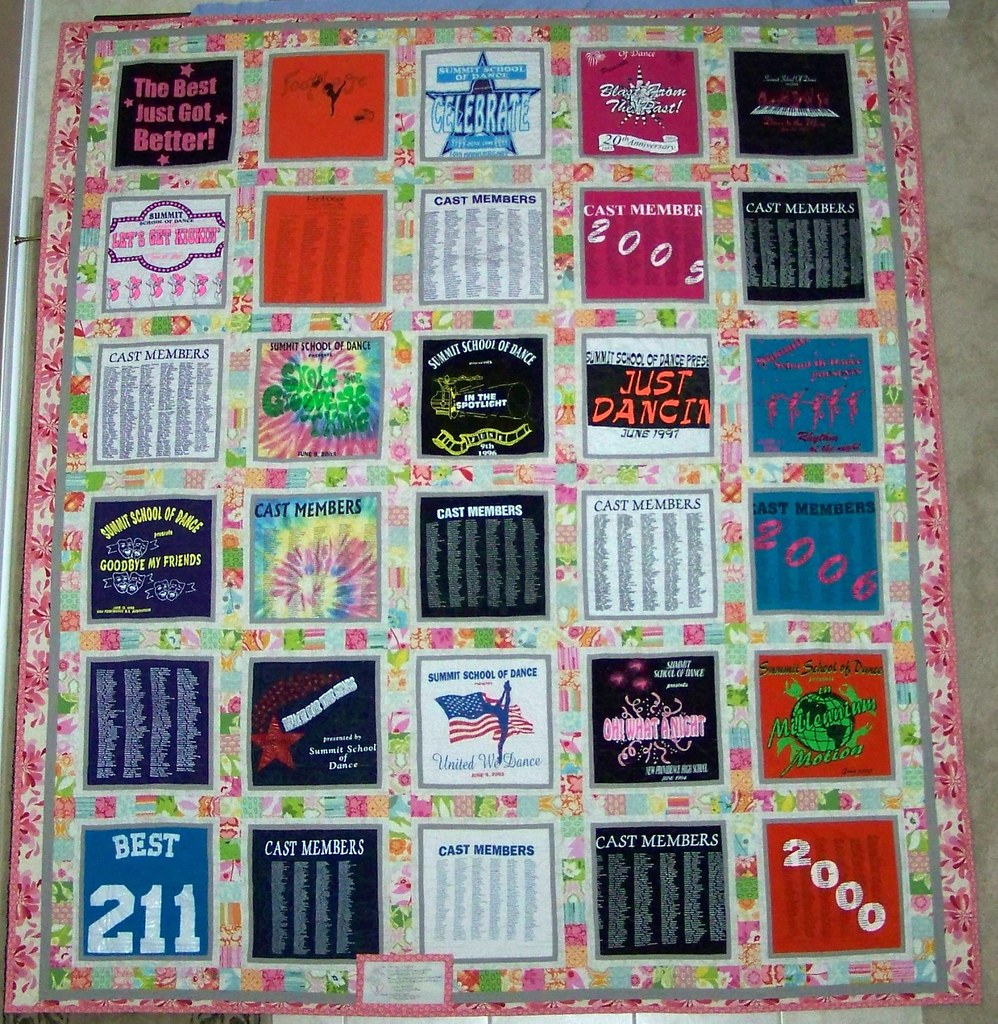
I was only going to use the front of the dance recital shirts, but DiscoJen pointed out that the names of the cast are on the back, and that's the most important part, remembering the people who were there with you. I ended up with 30 shirts on the back and 20 on the front. It was HUGE by the time is was done, I would say it's a large queen sized quilt.
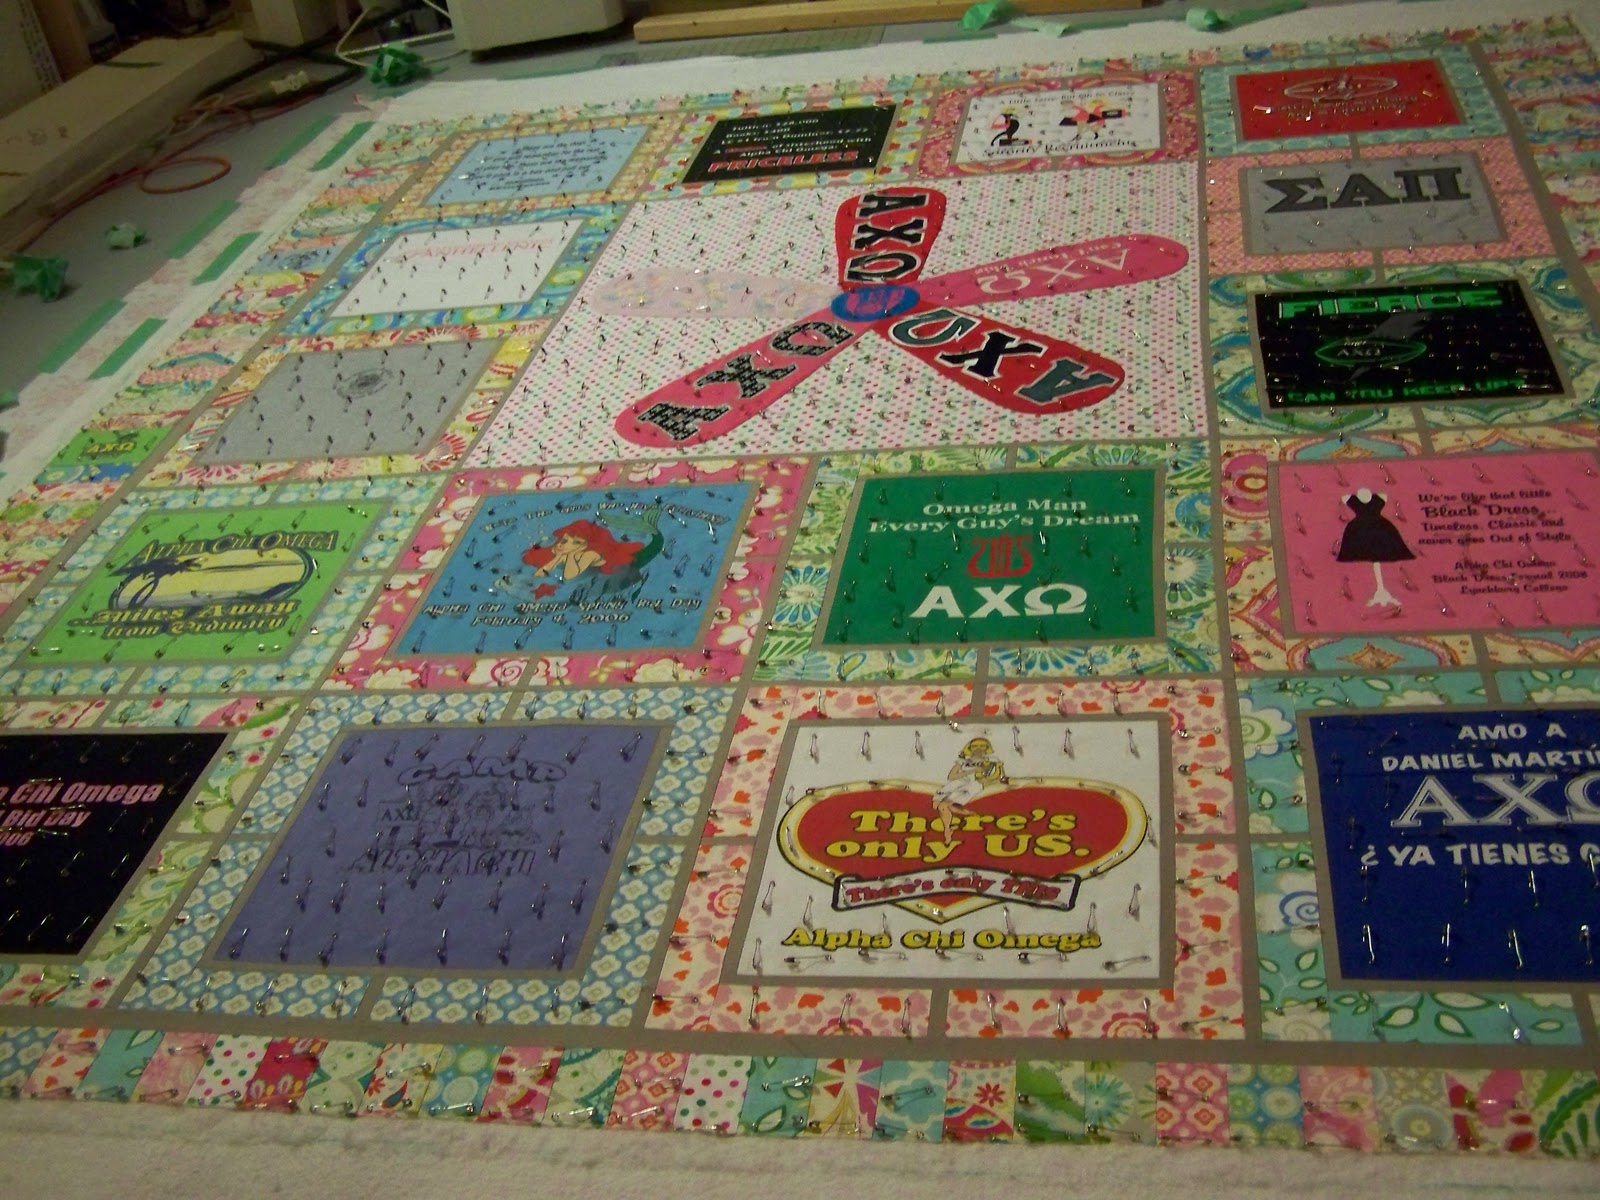
The front:

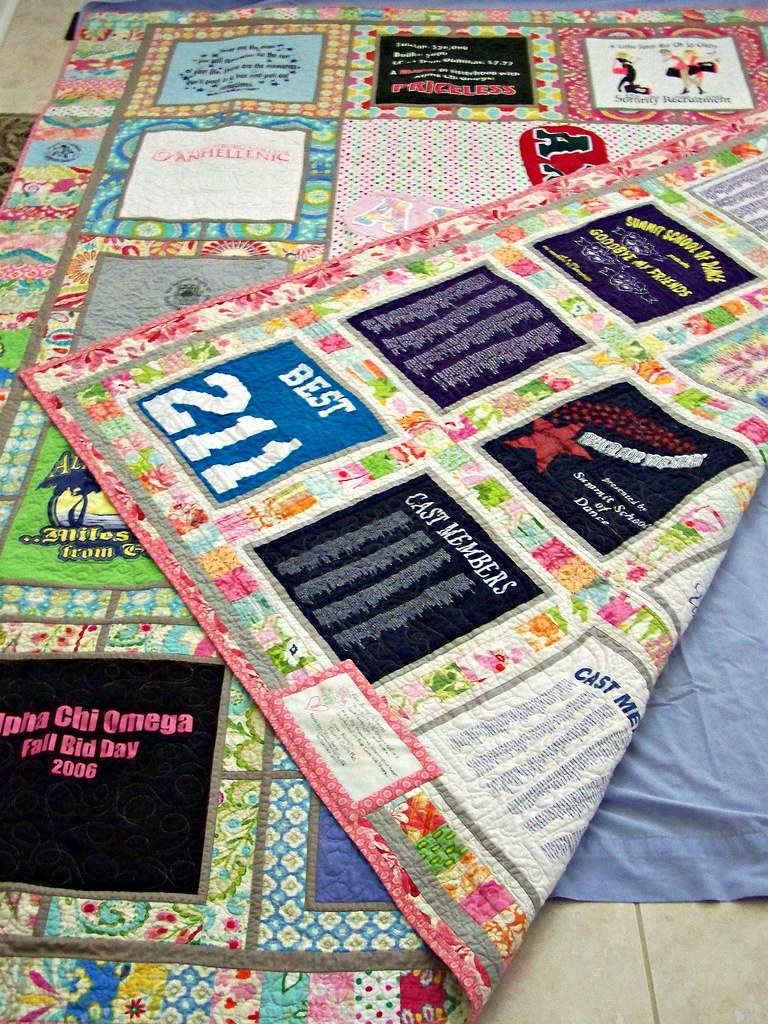
The front and back:
The back had an oh 'insert cursing here' moment, or if you prefer the glass half full 'there's no mistakes only design opportunities' moment. I had bordered all 30 blocks in the grey, and was all in a tizzy to attach the pieced sashing to see how it looked and it didn't fit!!!!
By a simple math error I had made the blocks 13" not the required 14"!!! ARRRGGHHHH!!! I then bordered them all in white too! I was really unmotivated by the time I was 1/4 of the way through the bordering a second time. I was taking no chances, I made them larger than necessary and then cut them all down to 14".
I worked some of the smaller t-shirt elements into the pieced borders:
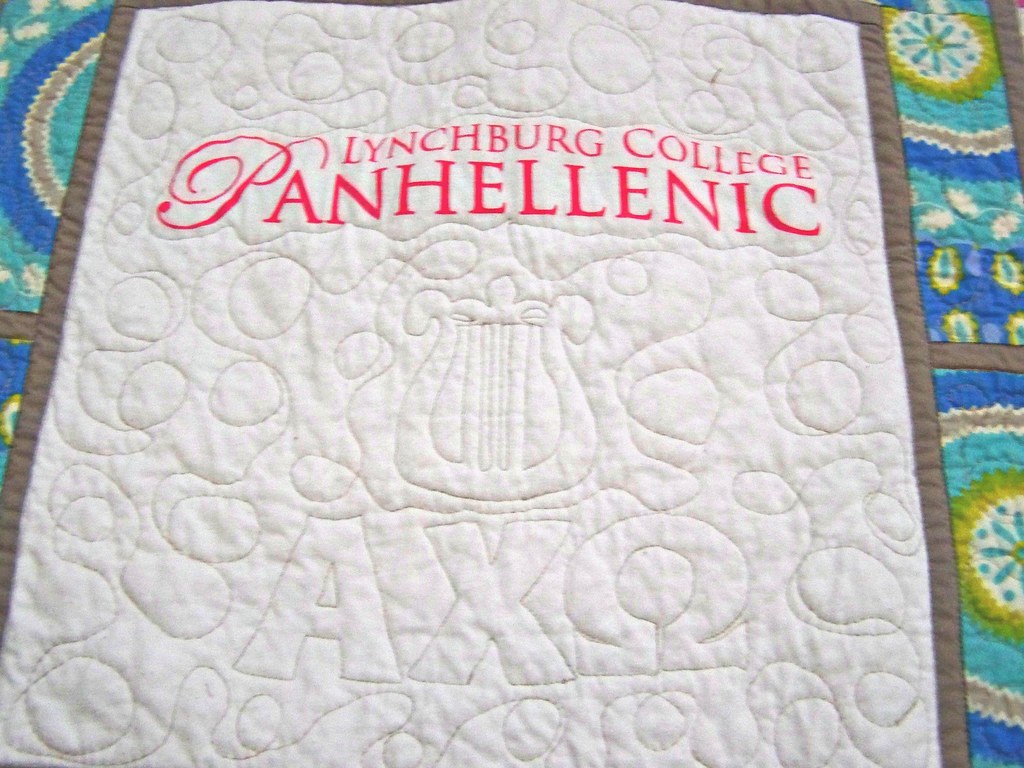
And added a bit of fancier quilting to the blocks that had fewer motifs:
I have to say, pinning it was THE WORST!!! I literally used every single pin I had, and that's saying something. The quilt weighed a ton by the time it was finished being pinned. And yes, it had to be pinned, not long armed, because I had to perfectly line up the front and the back so the shirts would all be straight on both sides. Note to self, don't ever do a two sided tshirt quilt again!Lining up the front and back took quite some time and patience. Lots and lots of patience. The backing was 119"x99"!!
This is what makes all the effort and time worth it:
She loved her quilt, the design, the colors, the quilting, everything about it! And her brother was thrilled because he had helped out with one of her dance recitals and his name was on the back too. So DiscoJen was totally right! I feel I was given a very high compliment when one of her early 20-something brothers said 'she has mad skills'.